
Tuesday, December 13, 2011

Thursday, November 24, 2011
Great Thanksgiving printable!!

Sunday, November 20, 2011


Saturday, October 29, 2011
Last Minute Halloween Ideas - Paperdoll Costume
Have you chosen your costume? If not, you're running out of time!! This link has some fun and easy ideas.

Tuesday, October 4, 2011
Awesome Bathroom Towel Holder

Use a wine bottle holder as a TOWEL HOLDER!!
I can't remember where I saw this - but, isn't it a great idea?
Saturday, September 17, 2011
It's beginning to coooool dowwwn - AUTUMN is on it's Way!

Easy Autumn project. Would look great on a mantle or a bunch of them running down the center of your Dining Table. Give it a try http://villicanamomma.blogspot.com/2009/09/newspaper-leaves.html
Sunday, July 17, 2011
Our Compass Drawer Pulls
These super cute drawer pulls were made with copyright free graphics by "The Graphics Fairy"

we used these simple instructions for an easy image transfer process.
They worked really well.
This dresser "DU MONDE" or Dresser of the World
is definitely one of a kind!
is definitely one of a kind!

Saturday, June 18, 2011

Friday, June 10, 2011
We ♥ CitraSolv TRANSFERs

Sunday, May 8, 2011
Last Minute Mom's Card

If you're scrambling around trying to come up with a last minute gift or card for your Mommie Dearest, check out this link -
Sunday, April 3, 2011
AN EGG-CELLENT CHALKBOARD IDEA
(from thegreenbeanscrafterole.blogspot.com)
Like many things that hibernated through the winter...it was time that my chalkboard paint was awoken from it's slumber...oh...how i have missed you!...
wasting no time...i put the paint straight to work!...got one of those big 'ol craft eggs from michaels and slapped two coats on there...then got to drawing!...nothing too fancy...but enough to give you the idea...
how cool would it be to use colored chalk?...i didn't have any on hand...or i so would've been using that!...

Sunday, March 27, 2011
What do you think about a SNEAK PEEK CLASS?

Several of our customers have asked us whether we would be interested in giving classes.
We've thought about it and then dismissed the idea - but then again, maybe it's worth re-thinking.??????
With Easter coming up...
we've crafted the stuffed carrot's above. They're easy to make and would be cute Easter gifts or displays.
If you are interested in attending an hour and a half class at a cost of $20, please contact us at 505.898.4488 before the end of March.
We're considering a class at Red Rock Rose Boutique on Saturday, April 9th.
Tuesday, March 15, 2011
St. Patricks Day - Last Minute GREEN!
I don't know about you, but I never think about St. Patirck's Day until it's here. I mean, I don't know what I'm going to wear (much less whether any of my green clothes are clean), where to find my Irish dinner, be it Irish stew, corned beef & cabbage, or soda bread ?? Well, this last minute project may help you prepare for St. Patties's day, be it last minute. Shrinky Dinks SAVE THE DAY!
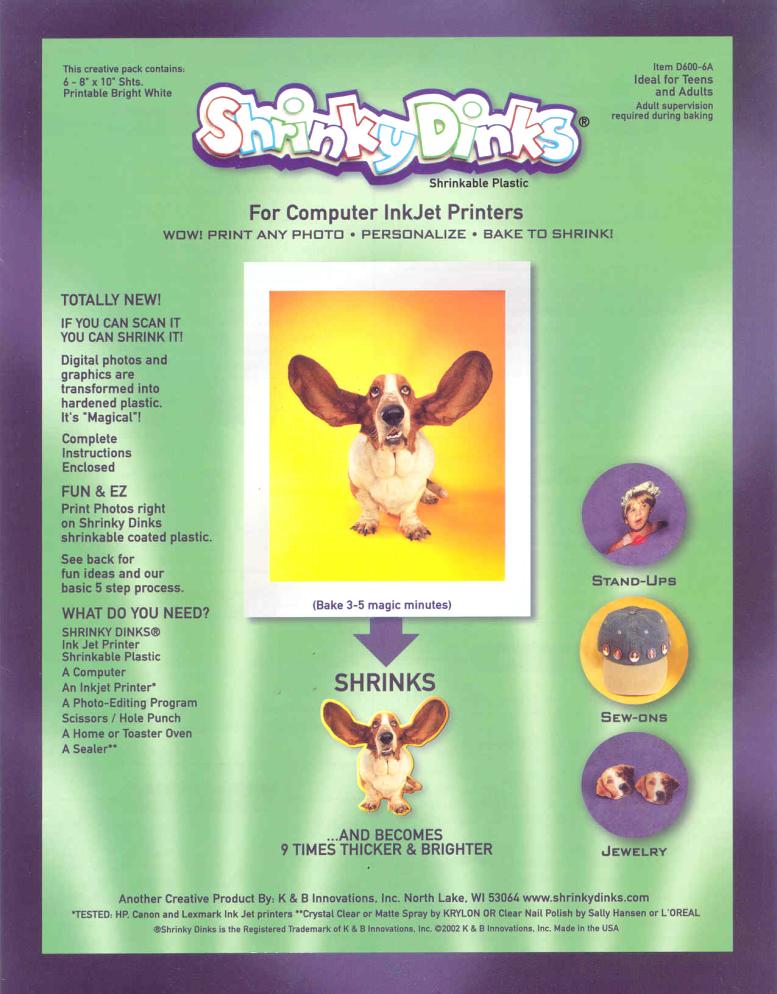
Use Shrinky dinks to make a charm, necklace, bracelet - and in our case EARRINGS.
Find them at your local hobby store.

1. Make a pattern about 3-4 times the size you what them to end up! They will "shrink" down.

2. Cut and color them. We use green markers on both sides of the shrinky dink pattern then cut them out.


5. Bake your project at 300 degrees for approx 2 minutes. Watching it constantly, your project will begin to curl up and then start to flatten.

6. Pull your project out of the oven with good cooking mitts. Then flatten quickly - we used a book.

7. After cooling, add your earring wires, ribbon or whatever is needed to achieve your final product/project.

Never hurts to have Shrinky Dinks on hand and they are great for a kid's rainy day of fun!
Happy St. Patricks Day!!
Thursday, March 10, 2011
FRAME A MEMORY

Make your favorite memory a lovely keepsake.
Sheet music and notes are so trendy this year. We'll have several projects that include both.
Thrift stores are a great source. We suggest you make photocopies of your sheet music, so you can re-use them over and over, for more projects to come.
Wedding season will be here soon and we wanted to share a project that you may be able to include in an upcoming wedding or event.
Take a (1) Frame with promise, (2) fitting sheet music, (3) momento or photo, (4) a matting or mounting board (colored foam core), (5) scissors and (6) glue or double-sided tape.

Decide on a frame, photos, sheet music and background. Keep all items as monochromatic as possible. Cut all items so that they can be layered and fit neatly into your frame which you have painted with an understated paint. You will want the contents of your frame to shine and not vice versa. Next, apply your glue sparingly to each layer and allow to dry thoroughly.

It's all very simple. The most time consuming part of the project is collecting your layers or pieces to use in this lovely collage.

There is no right or wrong. Just make it pleasing to the eye and include items of meaning and sentiment.
GOOD LUCK!
This and other fun projects on display and for sale at our
Monday, March 7, 2011
Embossed Metal Class

We took a class today, through our local Hobby Lobby. Martha was our Instructor and boy is she good! She's also kind, patient and affordable.
Being our first class, our work is a little rough. But can you imagine some Dia de los Muertos or sacred heart belt buckles in this metal? I can't wait for more.
Thanks for your help today Martha. You can reach her at 505.249.7747
Thursday, March 3, 2011
Cute Spring Swag Lamp

We're always coming up with cute display ideas. I saw something similar to our garden swag lamp in a magazine. We had several similar zinc planters. So here's how this fun project came together.
First, Dad drilled a hole in the bottom of the planter wide enough to handle our light kit. Fortunately, we carry these 15' light kits, so he was able to get the exact size of the bit needed. He did say that the zinc metal was really hard on his drill bit, so be prepared to sacrifice :-{


Next, Mom made a cute little skirt for the planter and ran some elastic inside, so it would grip the planter snuggly.

Easy, peasy!
Last we strung the light kit through the planter. Cute little spring swag lamp - Don't ya think?
Sunday, February 27, 2011
Duct (or 'DUCK') Tape Roses

Supplies: Bailing wire or pipe cleaners, florist tape, "Duck" tape from Hobby Lobby or "Duct" tape from your favorite hardware store, scissors.

1. Fold small tab of tape over leaving equal amount of tape folded over and equal amount of glue exposed.
 .....
.....
The amount of each piece of tape will determine the size of your rose. Experiment with sizes to determine the size of your rose.
2. For inside of rose, Use one folded piece and wrap glue side around bailing wire.

 3. For each petal round the folded side of tape with scissors, then wrap the glue side around bailing wire. After wrapping each petal, curl and twist over to add fullness to petals.
4. Continue wrapping petals until desired rose size is achieved.

5. The last step is to wrap florist tape around the exposed bailing wire to cover the stem of the rose.
Voila! Make as many as you want - This tutorial will come in handy when you need a last minute gift!
Subscribe to:
Posts (Atom)
